Hair is an undeniable symbol of beauty, so we spend a lot of time and effort maintaining it. Visits to the hairdresser, suitable shampoo, hair masks, and other conditioners… We put a lot of effort into having dreamy, shiny, and healthy hair. But often, we neglect cleaning our hairbrush. Why is it necessary to do it? How to do it, and how frequently? Explanations.
Why is it important to wash and clean your hairbrush regularly?
We devote precious time and special attention to pampering our hair, investing in sophisticated treatments and products… However, one important detail often escapes our hair rituals: cleaning the hairbrush!
Brushing your hair is not just about detangling the strands (a little nod to those famous knots that stick around); it is also an essential step for distributing sebum throughout the hair, thus providing it with natural protection against drying out. In addition to this, it helps to rid your hair of dust particles and other impurities accumulated throughout the day. But be careful: an unwashed brush quickly becomes a nest of these same impurities (residues from styling products, dead cells, pollution, etc.) that you risk depositing on your hair each time you brush it. Rather frustrating, right?
So, to prolong the effect of your hair routine and guarantee radiant hair, a little cleansing ritual is essential! In just a few minutes, you can purify it and thus maintain the effectiveness of your hair routine. We’ll tell you more…
How to wash and clean my hairbrush in 3 steps?
Let’s face it, cleaning your hairbrush isn’t high on our list of priorities. However, with hair and styling product residue accumulating on it, it ends up becoming a veritable breeding ground for bacteria. If we take care of our hair, we must also maintain our styling tools, right?
If you feel like it’s time to do your hair routine justice, it’s only fair to give this neglected accessory a deep clean to maintain the health of your hair in the long run. After all, why use a dirty brush after washing and conditioning your hair? The good news is that by incorporating this simple step into your beauty routine, it will become quick and almost instinctive. Here’s how to do it, in three steps:
Step 1: Remove hair stuck in the brush

Before moving on to deep cleaning, it is crucial to rid your brush of accumulated hair . This simple but essential step makes washing more effective and extends the life of your brush. Here’s how to do it depending on the type of brush you are using:
- Round brushes:
Round brushes, perfect for blow-drying, sometimes have the unfortunate tendency to trap hair. Here’s a little tip to remove them effortlessly:
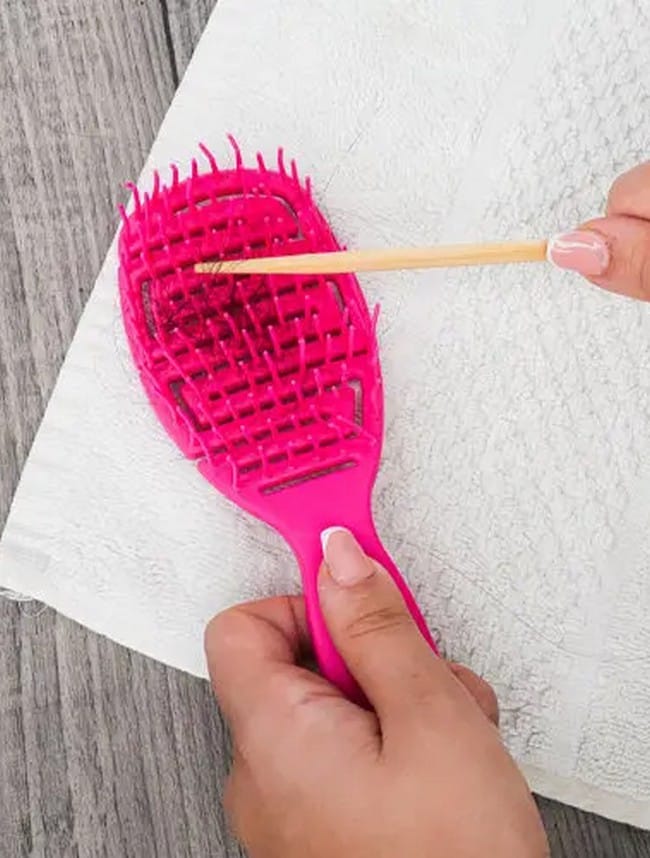
- Insert a tail comb or thin object between the tangled hair and the base of the brush;
- Gently lift the strands in several places to detach them without difficulty;
- If some strands are too coiled, gently cut them with small scissors between the rows of hairs, then remove them from the brush. And there you have it!
- Flat brushes:
Flat brushes quickly catch strands after each brushing. But don’t panic, a simple comb can remove everything in a flash. Here’s how to do it:
- Insert a tail comb between the tangled hair and the base of the brush;
- Gently lift the hair, section by section, until it is completely removed;
- Turn the brush over and repeat on the other side to ensure all hair is removed;
- For hair caught between the teeth of the brush, use the tip of a tail comb to free it from hard-to-reach areas.
Step 2: Wash the brush with soapy water

Once the hair is removed, it’s time for a big clean! Here’s how to keep your brush spotless and ready to accompany you for a long time:
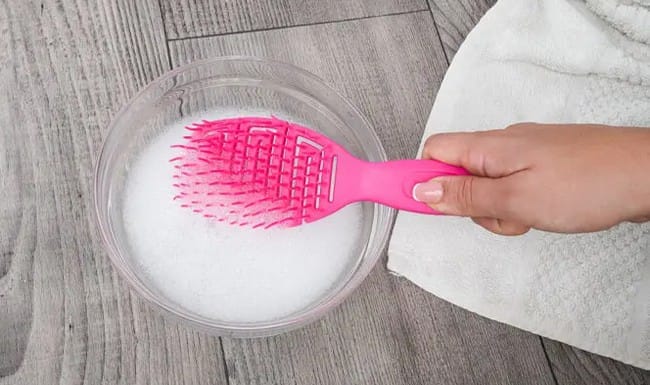
- Fill a large container with lukewarm water, then add a few drops of dishwashing liquid, mixing until you get a light foam;
- Then dip the brush in soapy water, following these instructions:
- If the brush is made of wood: Avoid submerging it entirely in water, as this can damage the wood’s finish. Instead, dip the bristles briefly in soapy water, then gently shake it to remove excess water.
- If the brush is plastic or metal: Dip it in soapy water and let it soak for about 3 minutes. This helps dissolve styling product residue, dust and accumulated dirt.
Once the brush is soaked, rinse it thoroughly with warm water to remove all traces of soap. If there is any residue, use an old soft toothbrush to gently scrub the nooks and crannies. Finally, rinse it again with clean water for a spotless result. And there you have it, mission accomplished!
Step 3: Dry the brush

The last step to restore your brush to its full effectiveness: a good drying, depending on its type, so that it will last a long time:
- If the brush is made of wood or natural bristles: Place it face down on a towel or hang it up to dry thoroughly. This will protect the wood from moisture and ensure that the natural bristles remain soft by avoiding prolonged exposure to water.
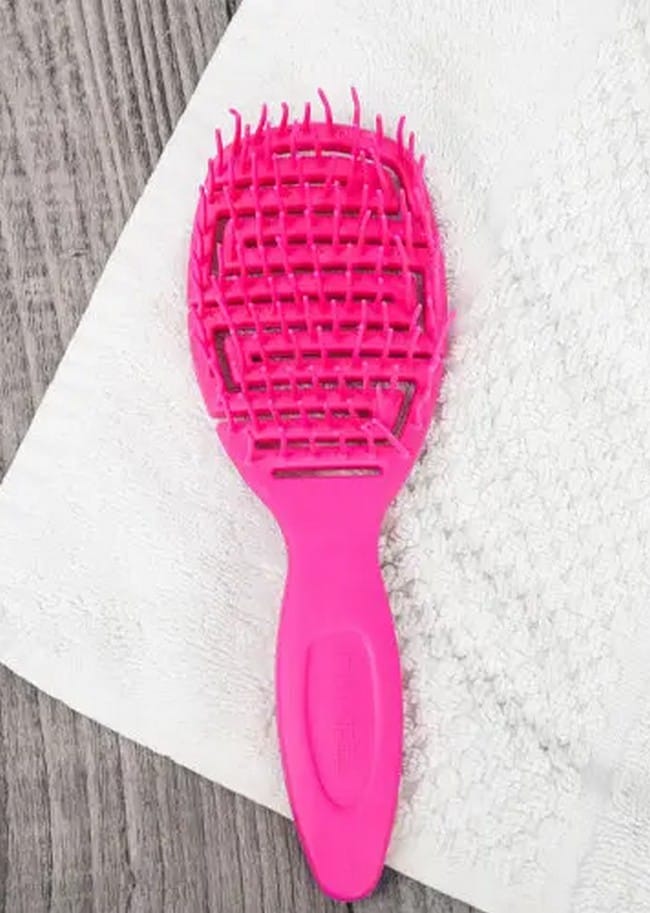
- If the brush is plastic or metal: Lay it face down on a clean towel and let it air dry overnight.
Make sure your brush is completely dry before using it again. You wouldn’t want to ruin your hairstyle with a brush that’s still wet, would you?
How often should I clean my hairbrush?
Your brush, that little darling of your hair routine, deserves a little TLC and a good cleaning, right? The good news is that you don’t need to do it every day. In general, a good cleaning every two weeks is enough , especially if you’re a fan of styling products or you lose hair when brushing.
A clue as to whether it’s time to take action? Take a look at your brush: If you see residue, tangles, or a thin layer of dust, it’s time to give it a well-deserved bath. After all, fresh, vibrant hair starts with well-maintained tools!
When should you replace your hairbrush?
Even with proper cleaning and regular maintenance, there comes a time when your hairbrush deserves to be retired. A quality brush can last for years, but there are some telltale signs. When the bristles are worn, misshapen, or despite your best efforts, it just doesn’t look clean anymore, it’s time to replace it.
Also, if your brush is more than five years old, it might be time for a fresh start. New brush technology could transform your hair routine.
How to keep a hairbrush clean longer?
Maintaining a flawless hairbrush isn’t just about regular cleaning; it’s also about prevention. With these handy tips, your hair routine will be easier and your hair shinier than ever:
- Use less styling products: Less product means less buildup in your brush, and lighter hair too!
- Clean your brush with white vinegar: A mixture of warm water and white vinegar will help you effectively remove residue and keep your brush clean for longer.
- Change your brush or method for “oily hair” days: Avoid using your usual brush when your hair is oily or lacking freshness;
- Remove hair after each use: A simple gesture that makes all the difference in keeping your brush impeccable for longer.
FAQ
What’s in a dirty hairbrush?
Unfortunately, it’s not just dust! This unsavory mix contains dead skin cells, sebum, broken hair, and styling product residue. Not very glamorous, right? Even worse, bacteria and fungus can grow in this buildup, especially if you have scalp issues like dandruff or seborrheic dermatitis. So regular cleaning is essential to keep your brush clean and your hair healthy!
Is it okay to soak a hairbrush in vinegar?
Yes, it is possible to soak a hairbrush in vinegar, but it is not necessarily the most recommended method. Soapy water is generally the most effective and gentlest way to clean your brush. However, if you have a wooden brush, be careful not to submerge it entirely in water to avoid damaging the material.
What is the best way to remove hair from my hairbrush?
To remove hair from your brush, follow these steps:
- Start by using a comb or your fingers to gently dislodge any strands stuck between the teeth of the brush;
- For more stubborn hairs, don’t hesitate to grab a pair of scissors to cut them;
- Finally, remember to maintain your brush regularly to avoid excessive hair buildup and make it easier to clean. This way, you can keep your brush looking impeccable at all times.

Leave a Reply